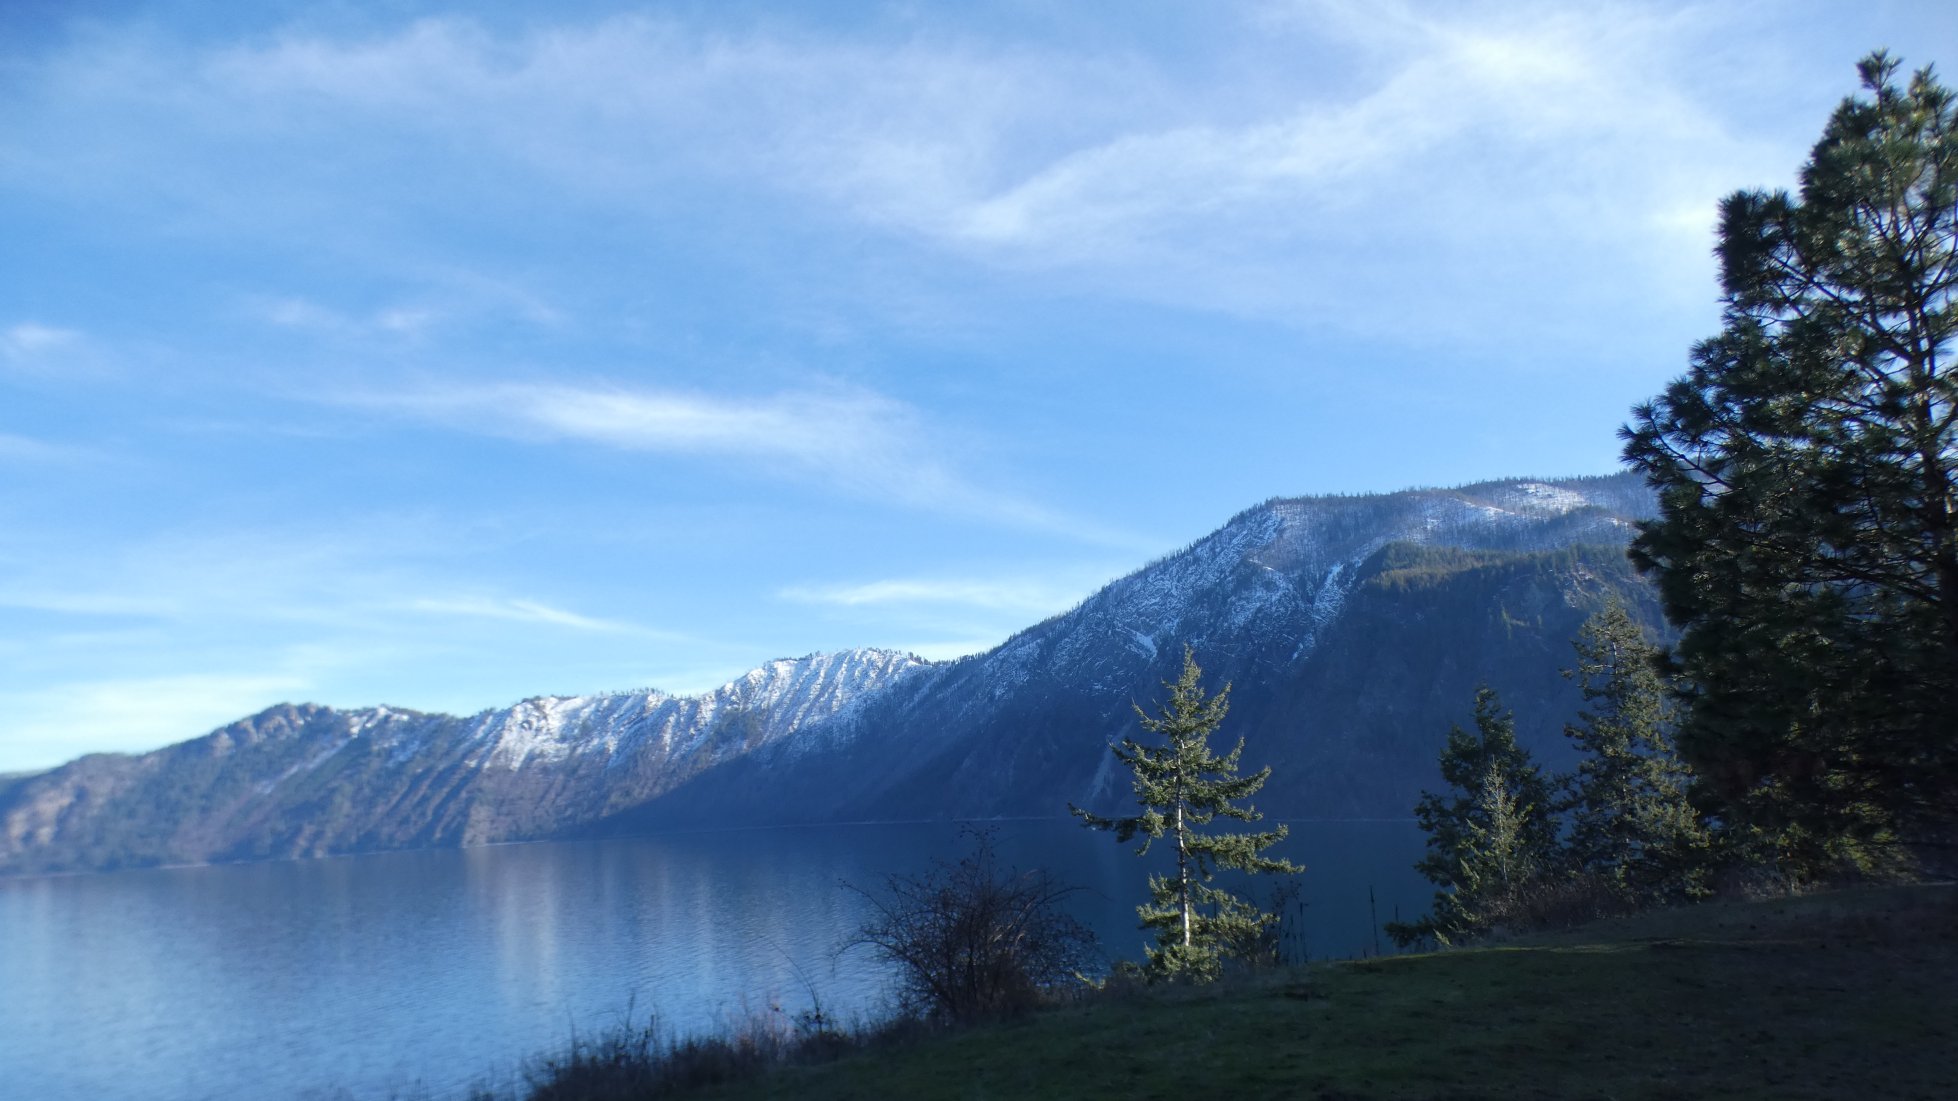
March 1, 2026 We went to Farragut State Park yesterday, and Priest Lake today. Both are beautiful...
Lake Pend O'Reille
Priest Lake
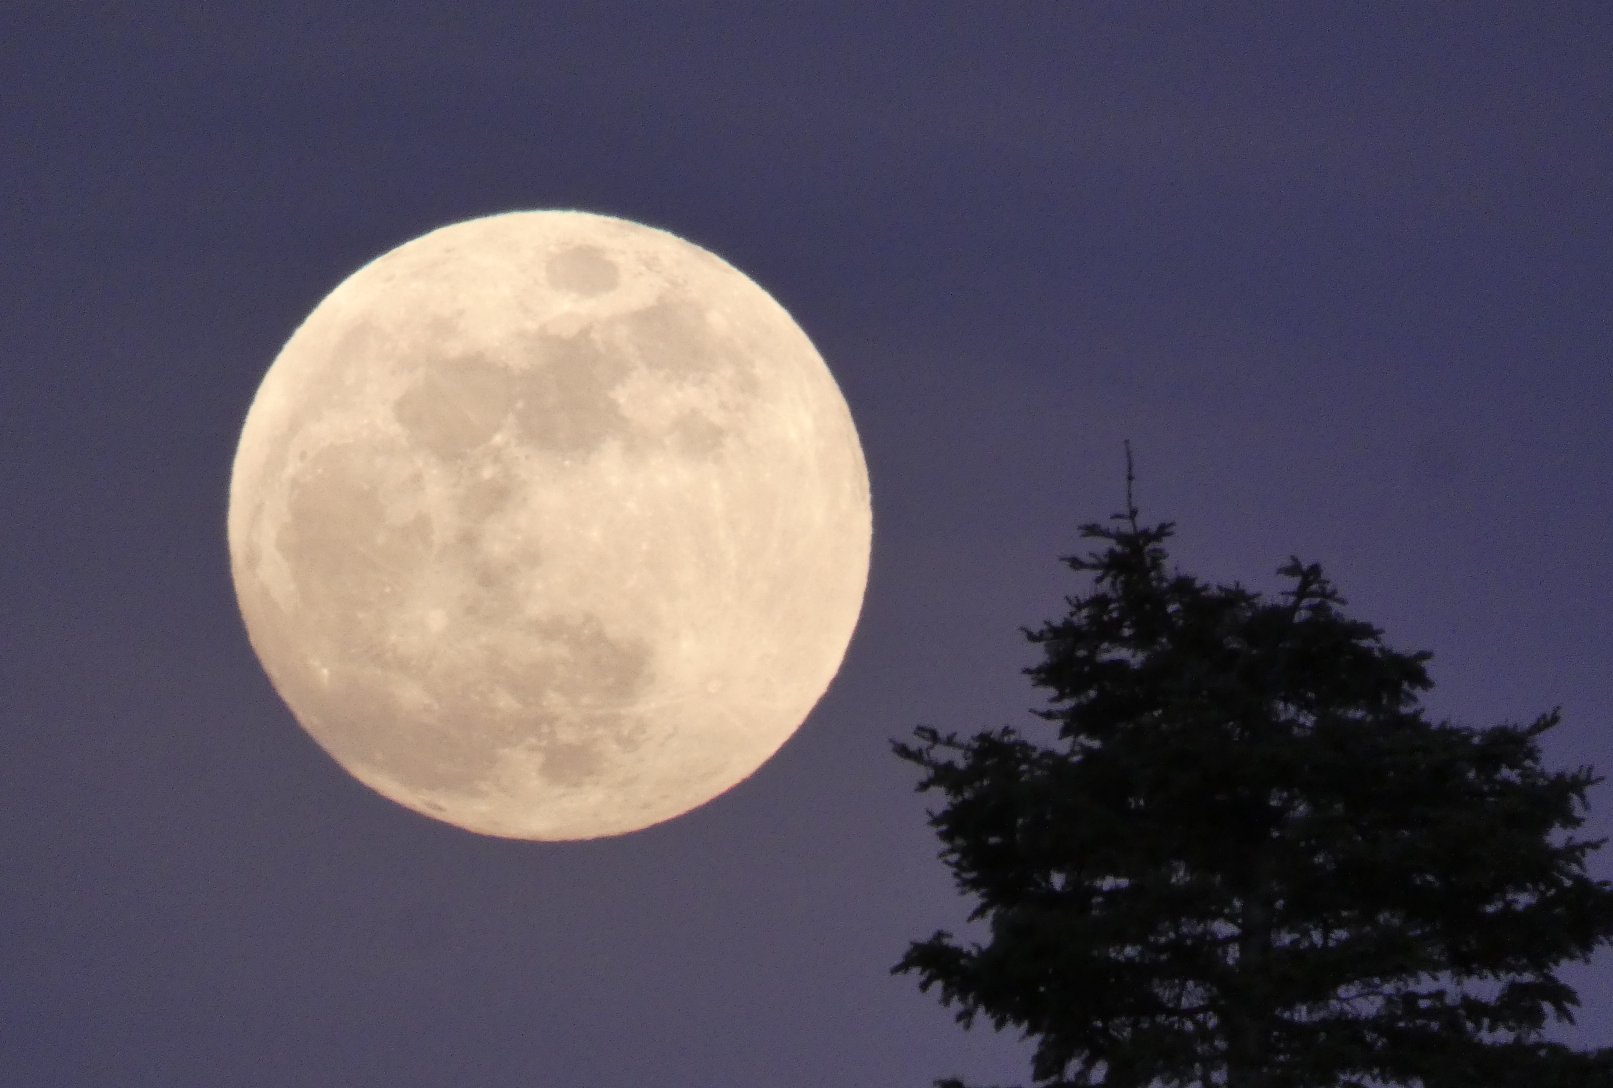
March 2 We saw the first buttercups and grass widows today in our area. The moon is eclipsing tonight, but between 3 and 4 am, so here's one of my better full moon photos at dusk..
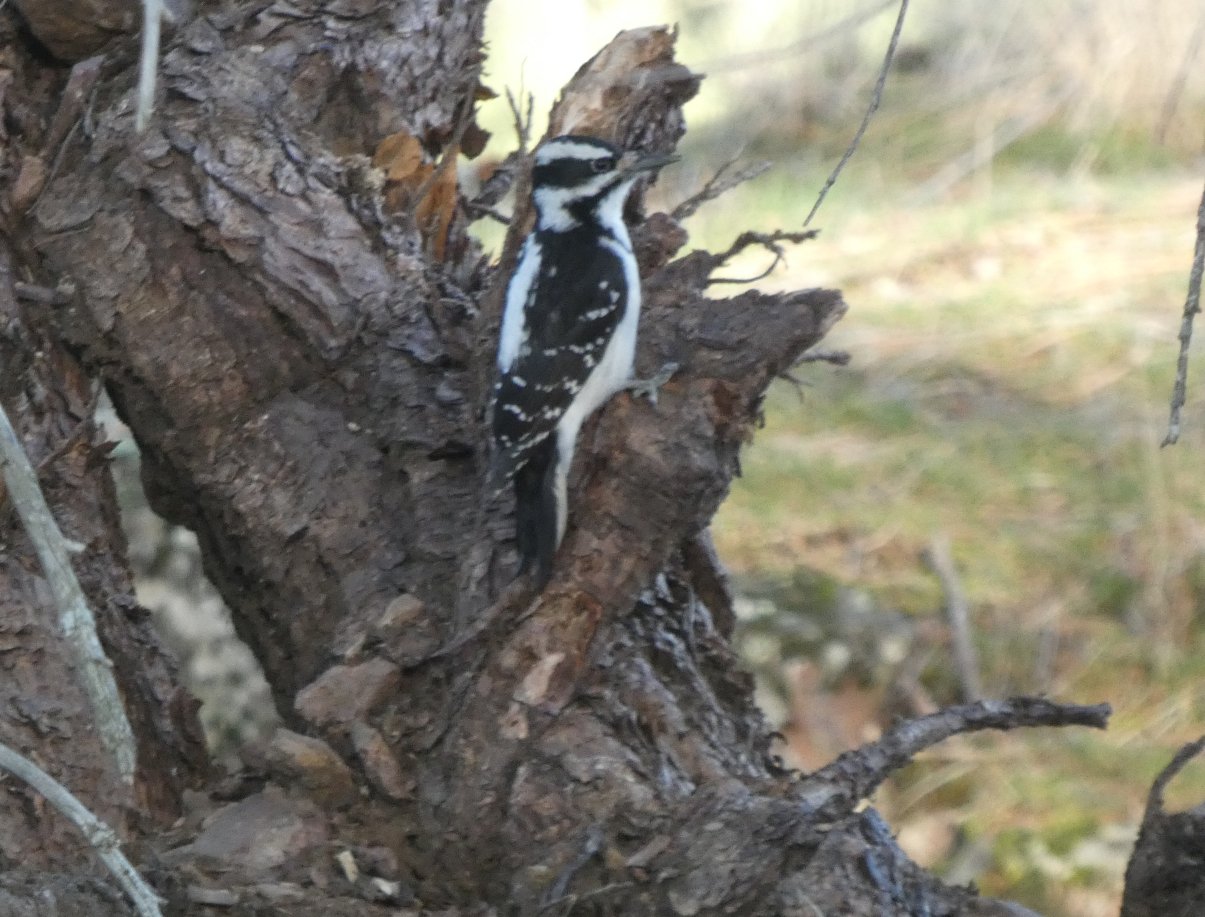
And here's a good hairy woodpecker photo:
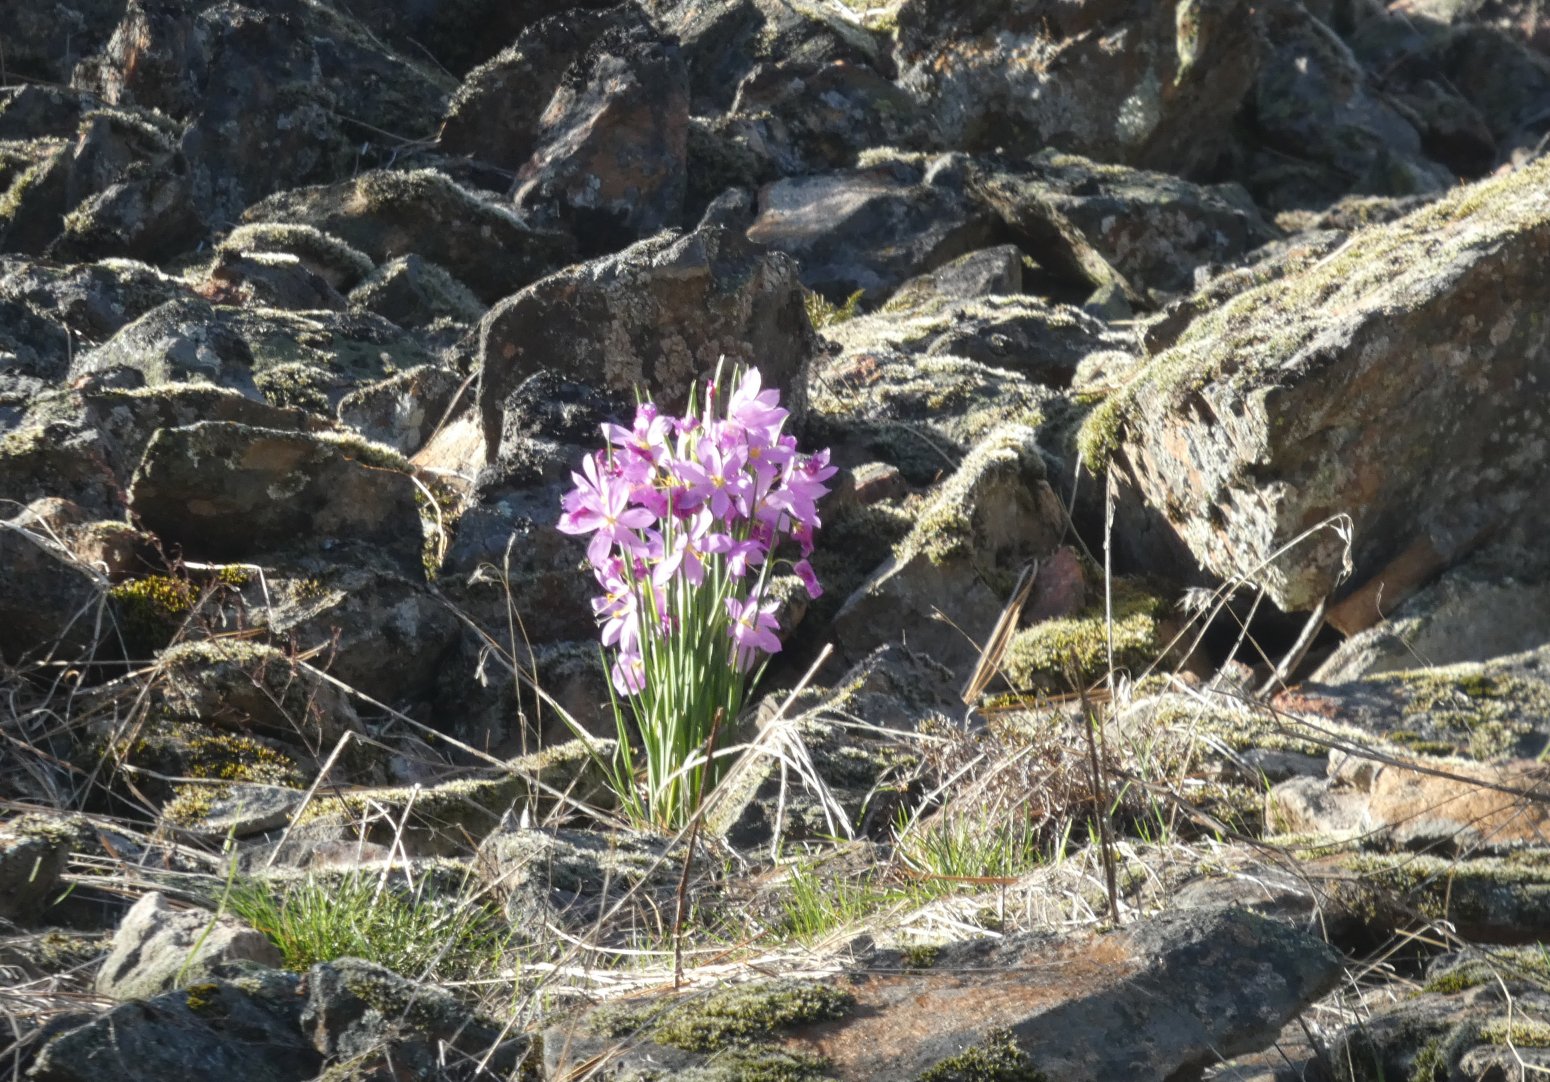
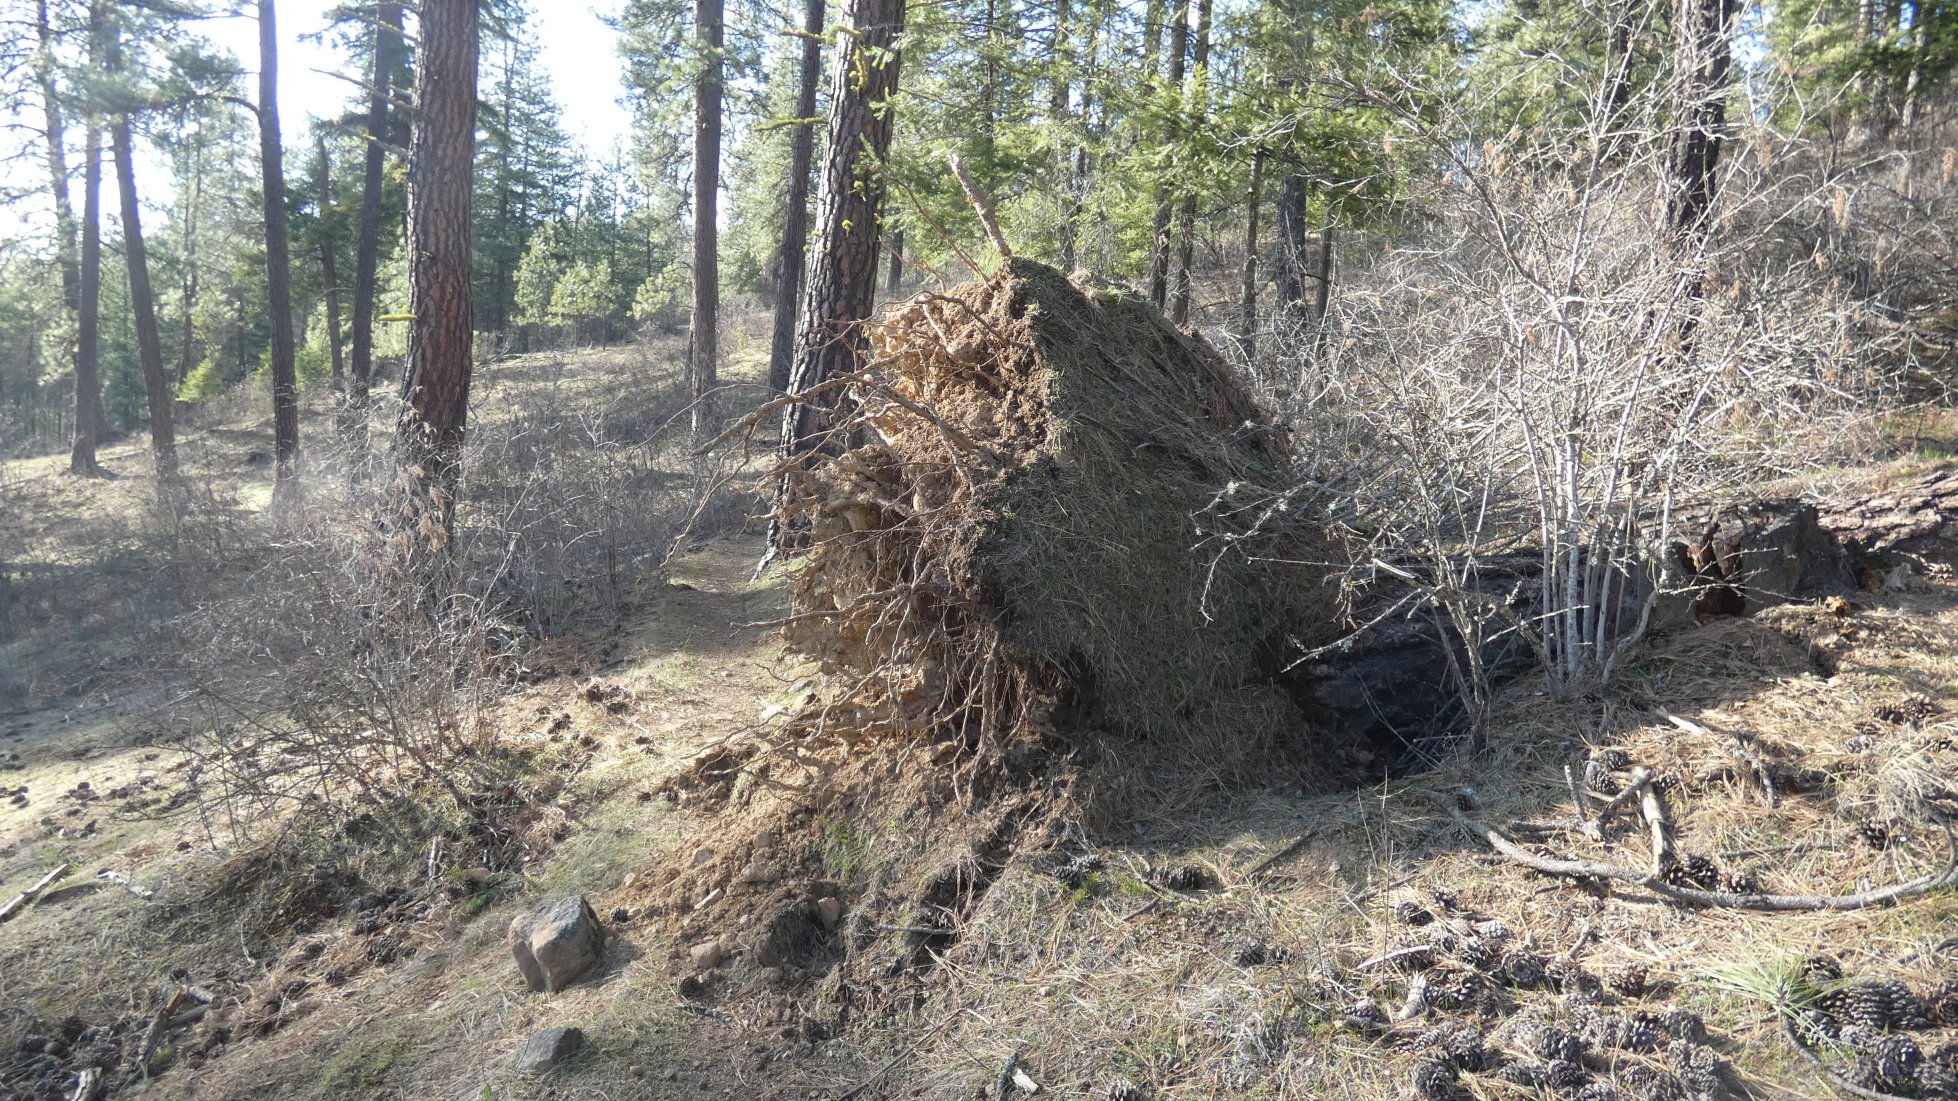
March 22,2026 The hottest winter in history is yielding grass widows and buttercups blooming weeks early...
It
also yielded a 60 mph storm last week that uprooted a lot of trees.
This one took out the edge of the bike trail from M41 to Birch Creek,
which I rode today...
books read
Still reading Lindsay Buroker's Dragon and Sword fantasies...